

AI 文章摘要
步骤一、解锁路由器SSH
新版本的Redmi AX6000固件 无需刷固件
1、获取stok码
- 登入路由器后台,然后在搜索地址栏复制
stok码 - 注意:stok码再每次重新登入路由都会改变,所以以下的步骤都需要是最新的stok码的情况下进行操作

2、开启TELNET
- 注意:将下面红色标记的对应的stok改为自己上面获取到的路由器对应的
stok码
2.1:开启开发/调试模式
http://192.168.31.1/cgi-bin/luci/;stok=对应的stok/api/misystem/set_sys_time?timezone=%20%27%20%3B%20zz%3D%24%28dd%20if%3D%2Fdev%2Fzero%20bs%3D1%20count%3D2%202%3E%2Fdev%2Fnull%29%20%3B%20printf%20%27%A5%5A%25c%25c%27%20%24zz%20%24zz%20%7C%20mtd%20write%20-%20crash%20%3B%20
2.2:重启路由器
http://192.168.31.1/cgi-bin/luci/;stok=对应的stok/api/misystem/set_sys_time?timezone=%20%27%20%3b%20reboot%20%3b%20
等待路由器重启完成,大概2分钟左右时间
2.3:设置Bdata永久开启telnet
注意:上面重启了路由器之后重新连接无线之后,访问路由器后台需要重新登入,这个时候我们需要获取最新的stok码
http://192.168.31.1/cgi-bin/luci/;stok=对应的stok/api/misystem/set_sys_time?timezone=%20%27%20%3B%20bdata%20set%20telnet_en%3D1%20%3B%20bdata%20set%20ssh_en%3D1%20%3B%20bdata%20set%20uart_en%3D1%20%3B%20bdata%20commit%20%3B%20
2.4:重启路由器
http://192.168.31.1/cgi-bin/luci/;stok=对应的stok/api/misystem/set_sys_time?timezone=%20%27%20%3b%20reboot%20%3b%203、开启SSH
3.1:连接路由器
连接到对应的无线WiFi,然后主机输入192.168.31.1,协议选择TELNET 端口默认23
提示:我这里使用的xshell工具

3.2:修改root密码
- 这里我将root密码修改为
admin
echo -e 'admin\nadmin' | passwd root3.3:固化SSH
- 固化SSH之后,以后升级路由器固件SSH也会保留不会被恢复
nvram set ssh_en=1
nvram set telnet_en=1
nvram set uart_en=1
nvram set boot_wait=on
nvram commit
3.4:永久开启SSH
mkdir /data/auto_ssh && cd /data/auto_ssh
curl -O https://cdn.jsdelivr.net/gh/lemoeo/AX6S@main/auto_ssh.sh
chmod +x auto_ssh.sh

uci set firewall.auto_ssh=include
uci set firewall.auto_ssh.type='script'
uci set firewall.auto_ssh.path='/data/auto_ssh/auto_ssh.sh'
uci set firewall.auto_ssh.enabled='1'
uci commit firewall
3.5:修改时区设置
cd
uci set system.@system[0].timezone='CST-8'
uci set system.@system[0].webtimezone='CST-8'
uci set system.@system[0].timezoneindex='2.84'
uci commit
3.6:关闭开发/调试模式
mtd erase crash3.7:重启路由器
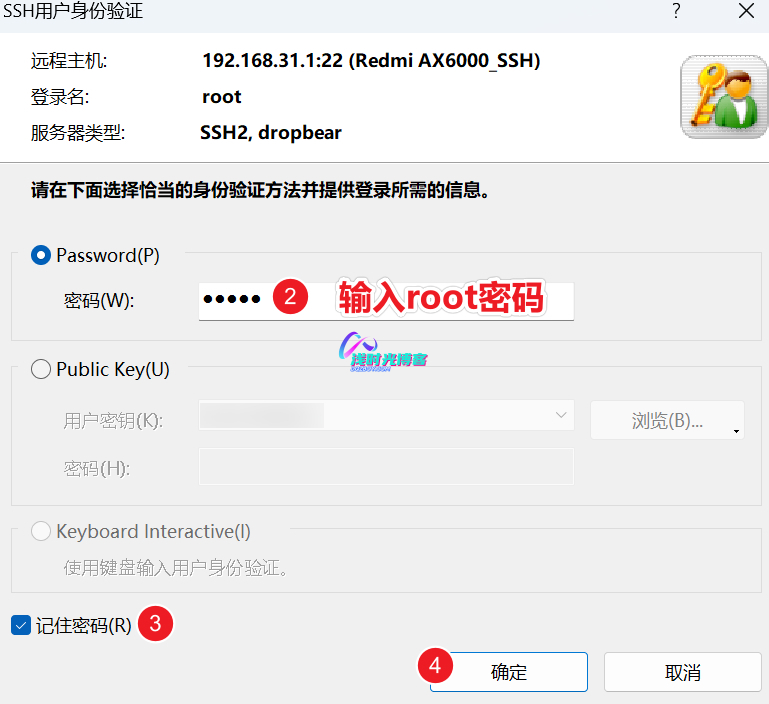
reboot4、连接SSH
- 路由器重启之后,确保PC连接成功,然后再使用xshell工具并选择ssh协议连接路由器

提示:这里的root密码就是上面修改的密码 admin
步骤二、配置科学上网
- 上面步骤一解锁了路由SSH连接之后,现在我们就需要配置路由器科学上网了;
- 注意:需提前准备科学上面的订阅地址或者连接地址
- 项目地址:https://github.com/juewuy/ShellClash
1、安装Clash
## Clash安装源:
export url='https://cdn.jsdelivr.net/gh/juewuy/ShellClash@master' && sh -c "$(curl -kfsSl $url/install.sh)" && source /etc/profile &> /dev/null

## 备用安装源:
(1)export url='https://raw.fastgit.org/juewuy/ShellClash/master' && sh -c "$(curl -kfsSl $url/install.sh)" && source /etc/profile &> /dev/null

(2)export url='https://fastly.jsdelivr.net/gh/juewuy/ShellClash@master' && sh -c "$(curl -kfsSl $url/install.sh)" && source /etc/profile &> /dev/null
- 通过XShell连接到路由器,执行上面的命令进行安装
- 注意:PC需要连接到对应的WIFI才可正常连接进去
export url='https://cdn.jsdelivr.net/gh/juewuy/ShellClash@master' && sh -c "$(curl -kfsSl $url/install.sh)" && source /etc/profile &> /dev/null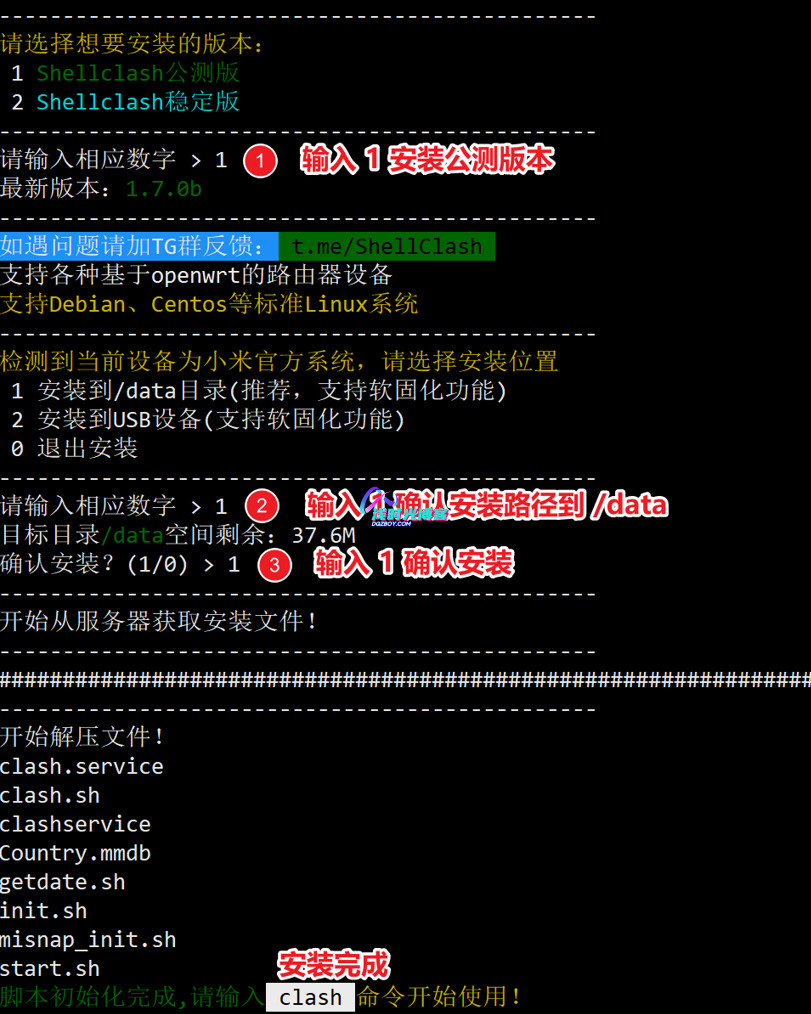
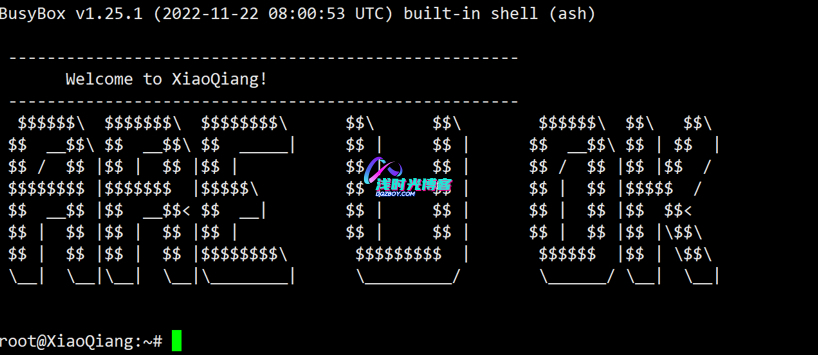
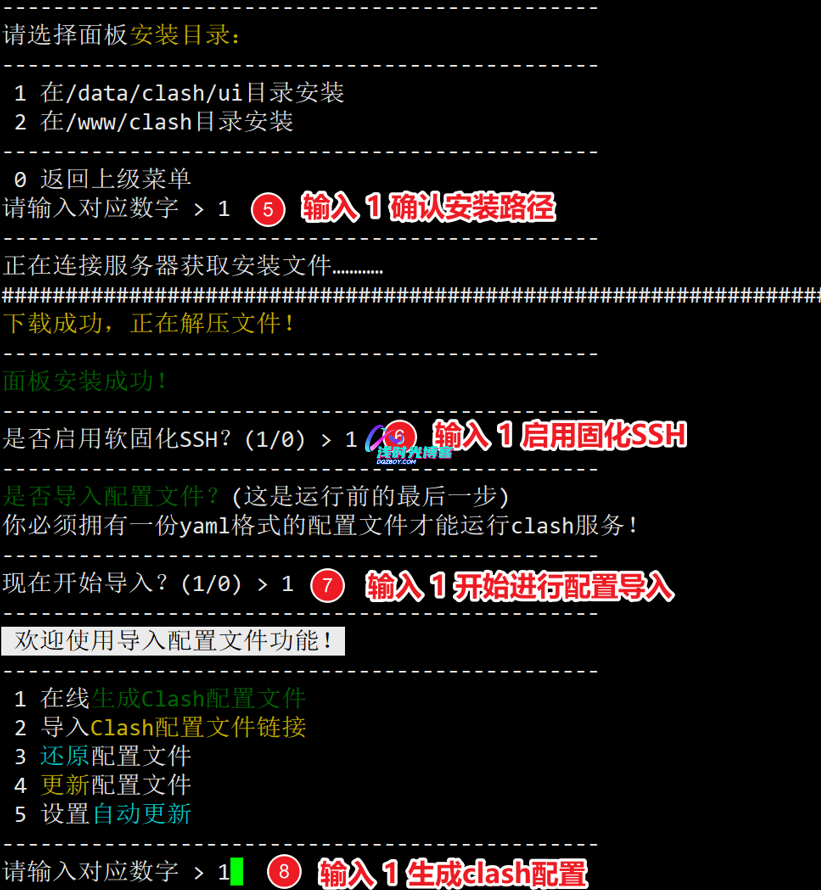
2、配置科学上网
root@XiaoQiang:~# clash

3、访问管理面板
- 浏览器访问地址为:http://192.168.31.1:9999/ui/
4、访问外网测试

5、Clash功能设置


6、Clash开机启动
声明
免责声明:本站内容仅供个人学习与研究,严禁用于商业或非法目的。继续浏览或下载即表明您接受上述条件,任何后果由用户自行承担。
版权声明:未经本站作者允许不得转载本文内容,否则将视为侵权。
感谢博主分享,学习下
感谢博主分享,学习下
感谢博主分享,学习下
感谢博主分享,学习下
感谢博主分享,学习下
感谢博主分享,学习下
感谢博主分享,学习下